By Amir Rouzrokh, Product Manager
Eclipse is one of the most popular IDEs for Java developers. Today, we're launching the beta version of
Cloud Tools for Eclipse, a plugin that extends Eclipse to
Google Cloud Platform (GCP). Based on
Google Cloud SDK, the initial feature set targets
App Engine standard environment, including support for creating applications, running and debugging them inside the IDE with the Eclipse
Web Tools Platform tooling and deploying them to production.
You may be wondering how this plugin relates to the
Google Plugin for Eclipse, which was launched in 2009. The older plugin is focused on a broader set of technologies than just GCP. Moreover, support for the Eclipse Web Tools Platform and
Maven is spotty at best. Moving forward, we'll invest in building more cloud-related tooling in Cloud Tools for Eclipse.
Cloud Tools for Eclipse is available for Eclipse 4.5 (Mars) and Eclipse 4.6 (Neon) and can be
installed through the Eclipse Update Manager. The plugin source code is available on
GitHub, and we welcome contributions and reports of issues from the community.
First,
install the Cloud Tools for Eclipse plugin. To verify that the plugin has installed correctly, launch Eclipse and look at the bottom right hand side of the window -- you should see a Google “G” Icon. Click on this icon to login to your Google account.
Now we'll demonstrate how to create and deploy a simple Maven-based "Hello World" App Engine standard environment application. First, create a new App Engine project from
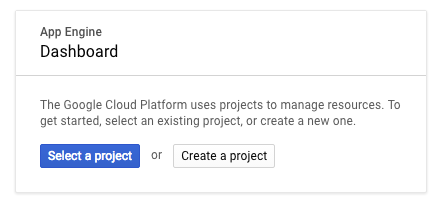
Cloud Console. (If this is your first time using GCP, we recommend signing up for our
Free Trial first.) When you see this card, click
Create a project:
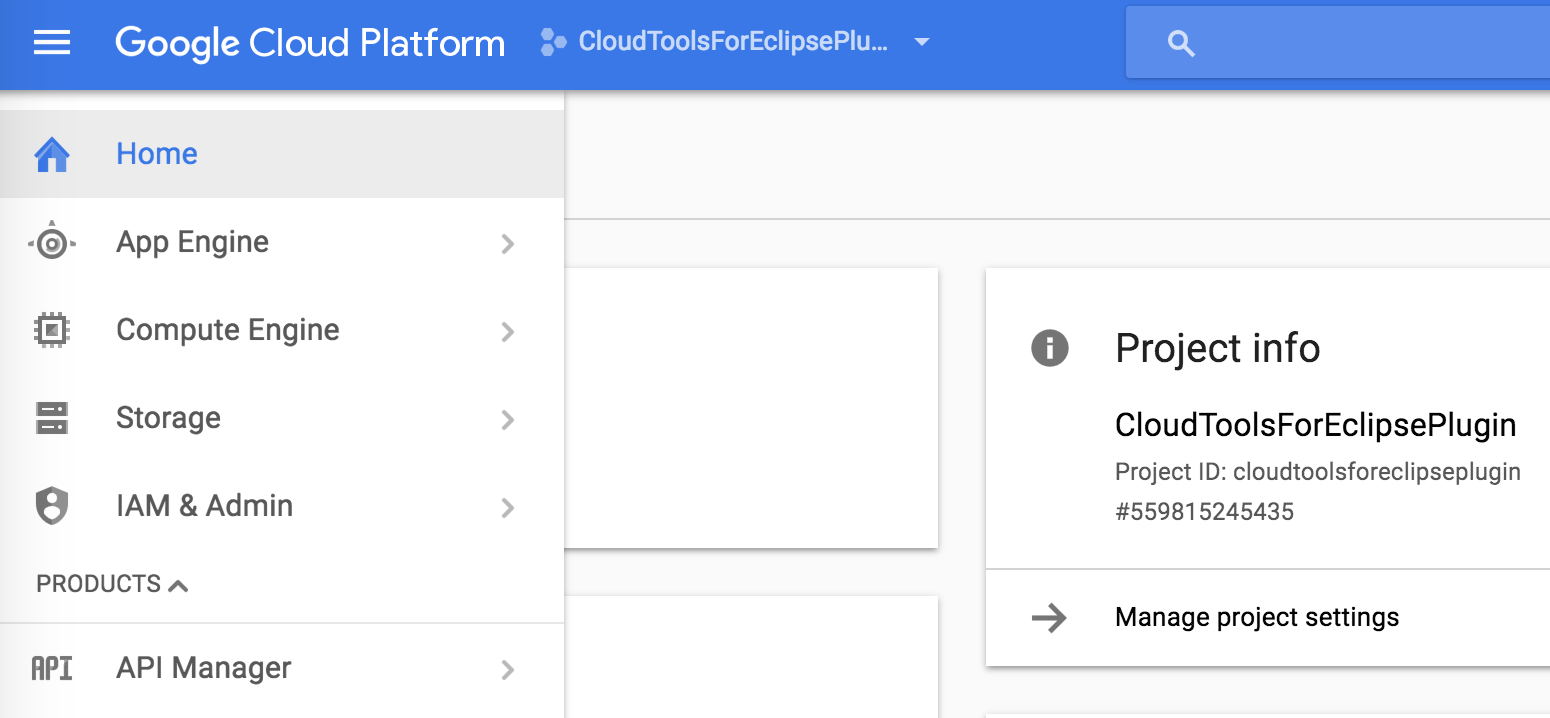
You should then land on the following cards:
Every GCP project has a unique project ID. You’ll need this string later, so let’s grab that. On the left hand nav, click on
Home and copy the project ID as shown below.
Now that you have an App Engine project, you're ready to deploy a simple Hello World application. Open Eclipse and click on
File > New > Project and type “Maven-based Google” in the Wizards section, then select the following:
Fill in the Maven group ID and artifact ID and click
Next:
In the next page, select the Hello World template and click
Finish.
Now, right click on your project in the Project Explorer and select
Run As > App Engine. You should now see your application running locally shortly on localhost. In the output terminal in Eclipse, the correct URL is hyperlinked.
Once you've finished running the application locally, you can deploy it to the cloud. Right-click on your application in the Eclipse Project Explorer and select
Deploy to App Engine Standard. You'll see the following dialog if you're logging in for the first time. Click on the
Account drop-down and proceed with the web browser UI to link the plugin for your GCP Account.
Once signed in, enter the Project ID of the application you created in Cloud Console and leave the rest as is. This is the ID you wrote down earlier.
Click
Deploy to upload the finished project to App Engine. Status updates appear in the Eclipse console as files are uploaded. When the deployment finishes, the URL of the deployed application is shown in the Eclipse console. That’s it!
You can check the status of your application in the Cloud Console by heading to the App Engine tab and clicking on
Instances to see the underlying infrastructure of your application.
We'll continue to add support for more GCP services to the plugin, so stay tuned for update notifications in the IDE. If you have specific feature requests, please submit them in the
GitHub issue tracker.
To learn more about Java on GCP, visit the GCP
Java developers portal, where you can find all the information you need to run your Java applications on GCP.
Happy Coding!
P.S. IntelliJ users,
see here for the Cloud Tools for IntelliJ plugin.