Posted by Dave Overstrom, Google Maps Program Manager
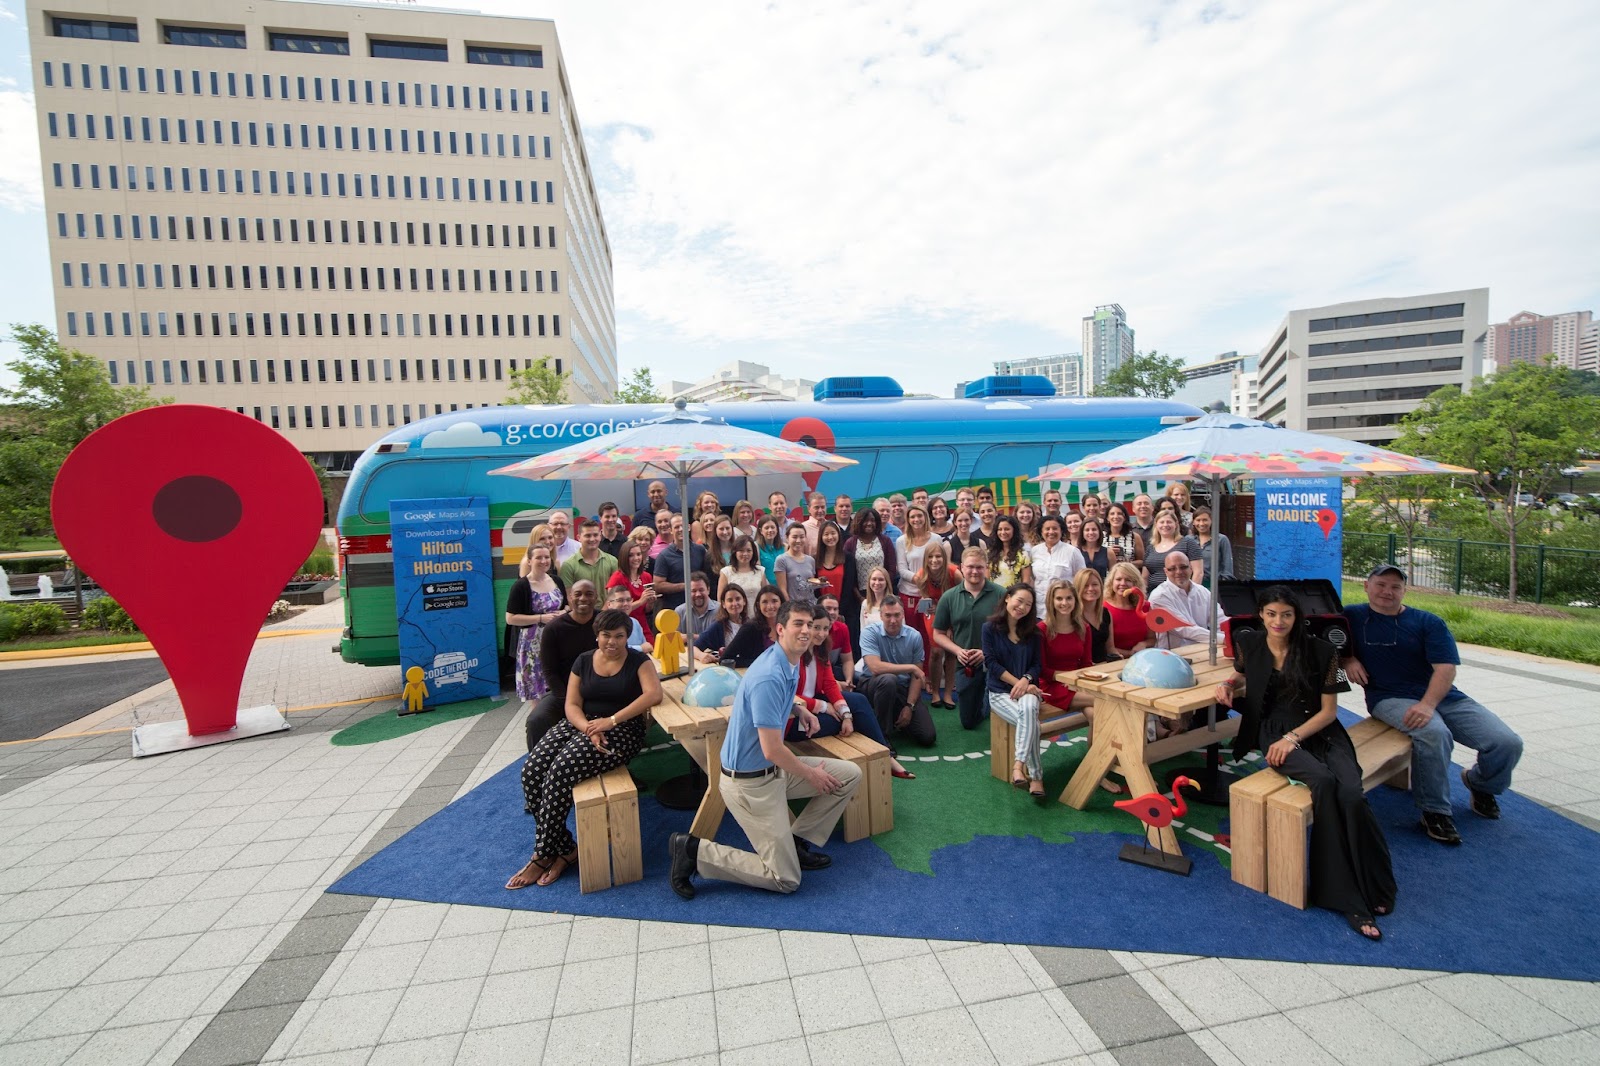
Editor’s Note: We are (literally) coding a mobile app on the road as part of our cross-country road trip, Code the Road. This is our fourth (and final) post in the series -- if you haven’t read our previous posts, be sure to check out Hitting the Road with the Google Maps Android API, Store Your Locations in the Cloud with Firebase, and Checking in using the Places API to get started. Follow along as we build our app on the road and read more from Dave Overstrom, Program Manager at Google.
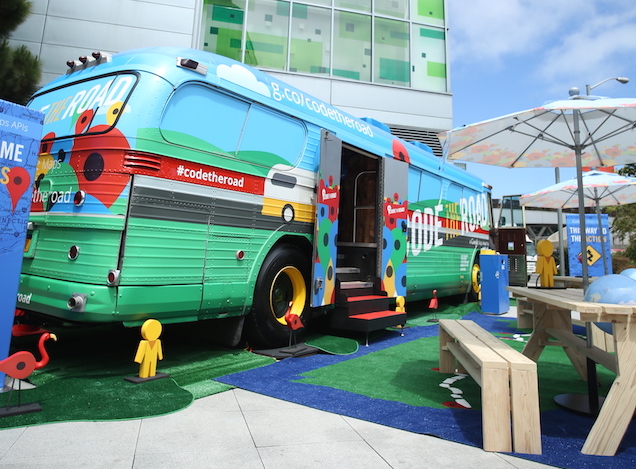
It’s been 22 days since you last saw us jogging on ICON’s NordicTrack treadmills back in Logan, UT, and to be honest, sitting in a 1959 GM Tour Bus for that long on the road has not exactly been ideal for our legs and joints. Luckily, we have just the solution to get us back in shape—thanks to the Google Maps APIs and Android Wear.
In this post, we are going to escape the Code the Road bus for a little while and make use of the
Directions API,
Elevation API, and
Google Maps API for Android Wear to plan the perfect bike ride. We will build upon our application to:
- Find the perfect bike route using the Google Directions API
- Determine the elevation profile of the route leveraging the Elevation API
- Easily display the route on our watch using the Google Maps API for Android Wear
Add Android Wear Module to Project
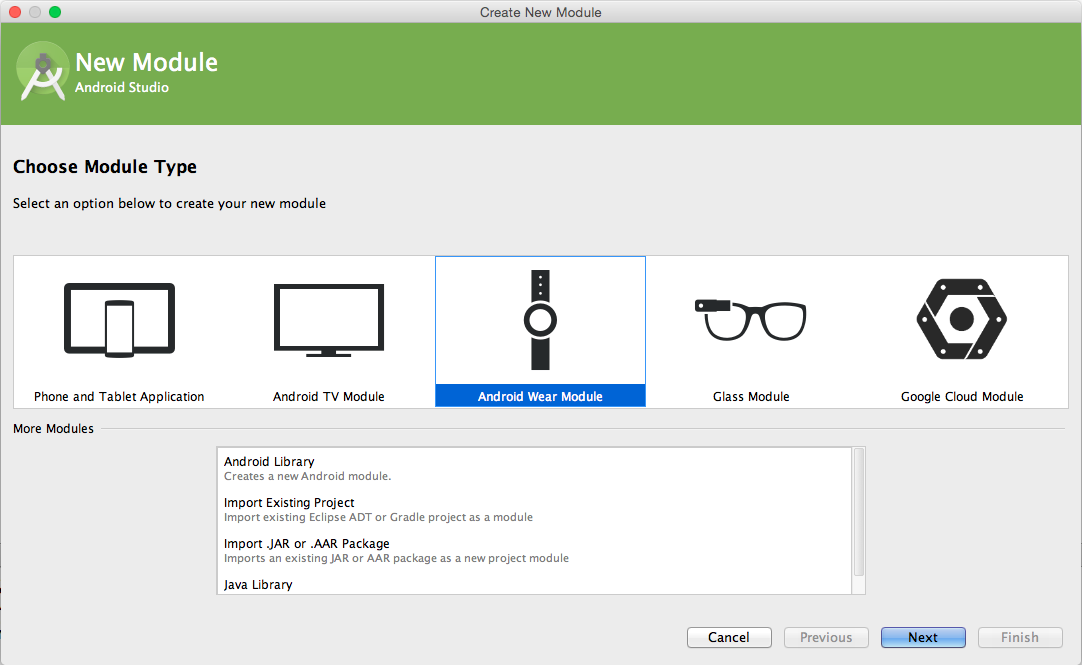
First, we need to add a new Android Wear module to our existing project. In Android Studio, select
File →
New →
Module and select
Android Wear Module.
On the Next screen, give your module a name. In this example, we called it “Code the Road” and gave it a module name of “wear.” This name is important for our gradle build files, so more on this shortly. Note: be sure the SDK is version 21 or higher. Start with the default blank activity. We will be modifying this activity, so it is important to get started.
Once the module is added to the project, it is important that we configure the build.gradle files, so the modules compile and the final application bundles everything correctly. In the build.gradle for the “Module wear”, ensure that the following dependencies are set. It is important that you reference Google Play Services version 7.5.0 or greater to ensure the Maps API for Android is available.
dependencies {
   compile fileTree(dir: 'libs', include: ['*.jar'])
   compile 'com.google.android.support:wearable:1.2.0'
   compile 'com.google.android.gms:play-services:7.5.0'
}
Now that we have these initial configurations in place, please reference
the guide to create an initial MapsActivity within your Android Wear module. This will initialize a basic Google Map within your Wear App.
dependencies {
   compile fileTree(dir: 'libs', include: ['*.jar'])
   wearApp project(':wear')
   compile 'com.google.android.gms:play-services:7.5.0'
   compile 'com.android.support:appcompat-v7:22.1.1'
   compile 'com.firebase:firebase-client-android:2.3.0+'
}
Debugging. At this point, it is important that you are able to successfully test and debug your Android Wear application. For our development, we debugged primarily using an actual Android wear device using the steps in
Debugging over bluetooth. You can also debug using the emulator by following the steps in
Set up and Android Wear Virtual Device. Take your time getting this setup and working correctly before continuing.
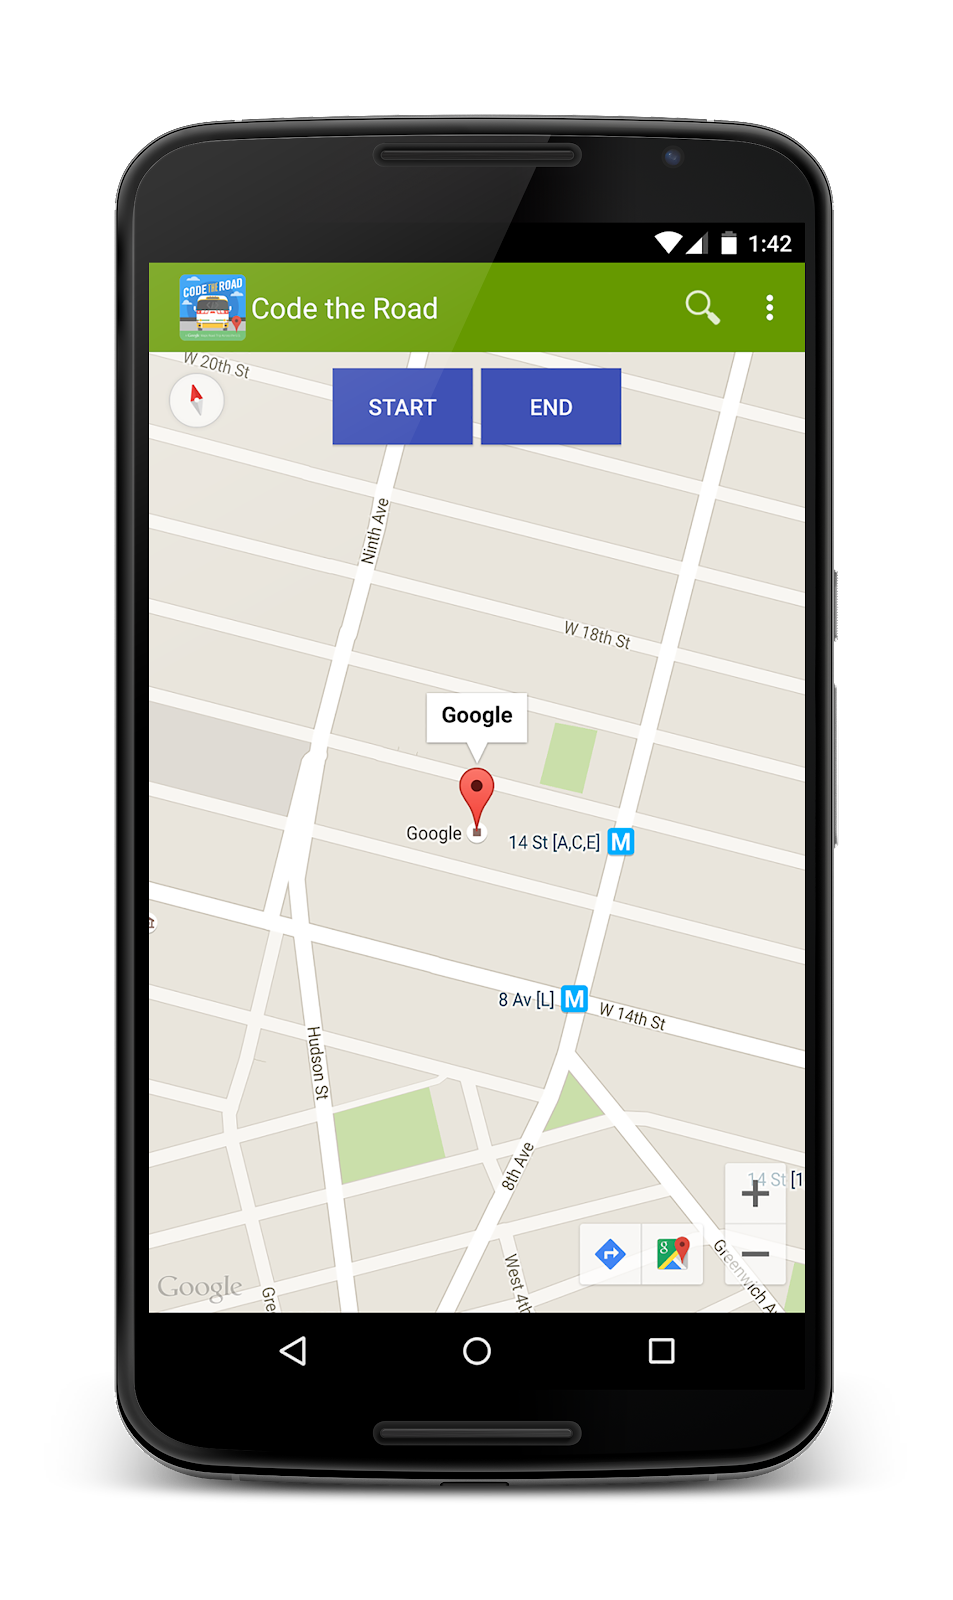
Set the start and end location
Now that we have our basic Google Map setup on the Android Wear module, let’s jump back to the mobile application code. The first thing we want to do is get the start and stop locations for our planned bike route. To do this, we add an
OnMapClickListener to the map and capture the start and stop locations on the map.
// Setup onclick event listener for the map
mMap.setOnMapClickListener(new GoogleMap.OnMapClickListener() {

   @Override
   public void onMapClick(LatLng point) {

       // Logic to add markers to the map on click.
       …

       LatLng origin = (LatLng) bikeMarkerList.get(0).getPosition();
       LatLng dest = (LatLng) bikeMarkerList.get(1).getPosition();

       // Get URLs for the Directions API
       String url = getDirectionsUrl(origin, dest);

       // Create an AsyncTask to fetch JSON data from Directions API
       DirectionsDownloadTask downloadTask = new DirectionsDownloadTask();

       downloadTask.execute(url);
   }
});
Construct the request to the Directions API
Ultimately, we want to draw a polyline to demonstrate the route for a “biking mode” between our start to end locations. But first, we need to send a request to the
Directions API in order to retrieve the route for our trip. We construct a URL to the Directions API web service:
// Building the url to the Directions API web service
private String getDirectionsUrl(LatLng origin,LatLng dest){

// String for the origin of the route
String str_origin = "origin="+origin.latitude+","+origin.longitude;

// String for the destination of the route
String str_dest = "destination="+dest.latitude+","+dest.longitude;

// Enable bicycling mode
String mode = "mode=bicycling";

// We build the parameters for our URL string
String parameters = str_origin+"&"+str_dest+"&"+mode;

// Construction of the entire URL to the Directions API.
// IMPORTANT: Notice how we proxy the requests through a web server to
// protect your API key.
String url = "https://<YOUR_PROXY_SERVER>/directions?"+parameters;

return url;
}
Parse the Directions API JSON response
Within the onPostExecute function of our DirectionsDownloadTask (see
AsyncTask), we created a helper class to parse the JSON response and grab the overview_polyline value. We then “
decode” this polyline and store the lat / lng result to a global List variable (more on this later). Note: For your application, you may choose to traverse all the routes and legs to capture every lat / lngs pair. For demo purposes, we just used the overview_polyline.
protected void onPostExecute(String directionsJSON) {
   super.onPostExecute(directionsJSON);

   try {
       JSONObject jObject = new JSONObject(directionsJSON);
       DirectionsJSONParser parser = new DirectionsJSONParser();

       // Parse the data. directionsResult is a List of decoded poly
       directionsResult = parser.parse(jObject);

       // This is the encoded polyline to pass on the Elevation API call
       String overviewPolyline = parser.getEncodedPoly(jObject);

       //Now that we have route, we need to get the Elevation data.
       ElevationDownloadTask elevationDownloadTask = new
  ElevationDownloadTask();
       String url = getElevationUrl(overviewPolyline);

       elevationDownloadTask.execute(url);

   } catch (Exception ex) {
       ex.printStackTrace();
   }
}
Construct the Request to the Elevation API
Now that we have the route for the trip, we can make a call to the Elevation API using the encoded polyline to get the corresponding elevations for each lat / lng pair. Similar to the Directions API logic, we make an Elevation API call using an AsyncTask. Below is an example of how we construct the URL.
private String getElevationUrl(String encodedPolyline) {
   // Build parameters to the web service
   String parameters = "locations=enc:" + encodedPolyline;
   // Build URL to the web service
   String url = "https://<YOUR_PROXY_SERVER>/elevation?" + parameters;
   return url;
}
Parse the Elevation API JSON response and draw on map
We were planning to render the polyline with a corresponding elevation chart below the map. Although this would be very useful, we wanted to display elevation information on a much smaller interface like a watch. With less screen real estate, we decided to color the polyline segments on the map based on elevation change, where green equals downward elevation and red equals upward elevation. To accomplish this, we added the following logic to our ElevationDownloadTask:
- First, we parse the JSON and add the corresponding elevations to a global List elevation result.
- Second, we iterate through all the route segments (directionsResult) and to get the lat / lng pairs and elevation difference.
- Using a helper function, we calculate the color of the segment based on elevation change (green → red or red → green)
- Finally, we add the polyline to the map and pass the polyline information over to the Wearable device using the PutDataMapRequest.
protected void onPostExecute(String elevationJSON) {
   super.onPostExecute(elevationJSON);

   try {
       JSONObject jObject = new JSONObject(elevationJSON);
       ElevationJSONParser parser = new ElevationJSONParser();

       // Start parsing data
       elevationResult = parser.parse(jObject);

       // We use later send this to the Wearable device to recreate poly.
       String routeForWearable = "";

       // Go through all segments
       for (int i = 1; i < directionsResult.size(); i++) {
           LatLng prevPosition = directionsResult.get(i - 1);
           LatLng position = directionsResult.get(i);
           double prevElevation = Double.valueOf(elevationResult.get(i - 1));
           double elevation = Double.valueOf(elevationResult.get(i));

           double elevationDiff = elevation - prevElevation;

           // Get color based on elevation change.
           // Green --> Red (and vice versa) gradient logic.
           int color = getColorByElevChange(elevationDiff);

           // Create the polyline segment.
           PolylineOptions polyOptions = new PolylineOptions()
                   .add(prevPosition, position)
                   .color(color)
                   .width(8);

           // Draw polyline for segment
           mMap.addPolyline(polyOptions);

           // We maintain this String variable to pass over via the DataApi to
      the Wearable
           // app. From there we parse the response and also create the polyline
      there.
           routeForWearable += prevPosition.latitude + "," +
      prevPosition.longitude + ":"
                   + position.latitude + "," + position.longitude + ":"
                   + color + "|";
       }

       // Here we send over the polyline string to the Wearable device.
       PutDataMapRequest putDataMapReq = PutDataMapRequest.create("/route");
       putDataMapReq.getDataMap().putString(ROUTE_TAG, routeForWearable);
       PutDataRequest putDataReq = putDataMapReq.asPutDataRequest();
       PendingResult pendingResult =
               Wearable.DataApi.putDataItem(mGoogleApiClient, putDataReq);
   } catch (Exception e) {
       e.printStackTrace();
   }
}

Display the Route on Our Watch
Setup WearableListenerService. The final step of the app is to create a
WearableListnerService on the Wearable app to grab the polyline information passed in the previous step. Within this listener service, we have an onDataChanged function to capture the routeForWearable string and use that information to create a similar polyline on the Wearable application.
public void onDataChanged(DataEventBuffer dataEvents) {

… // Initialization logic

for (DataEvent event : dataEvents) {
   if (event.getType() == DataEvent.TYPE_CHANGED) {
       // DataItem changed
       DataItem item = event.getDataItem();
       if (item.getUri().getPath().compareTo("/route") == 0) {
           DataMap dataMap = DataMapItem.fromDataItem(item).getDataMap();
           String routeFromMobile = dataMap.getString(ROUTE_TAG);

           // Go back to main UI thread and draw polyline
           // Broadcast message to wearable activity for display
           Intent messageIntent = new Intent();
           messageIntent.setAction(Intent.ACTION_SEND);
           messageIntent.putExtra(ROUTE_TAG, routeFromMobile);
           LocalBroadcastManager.getInstance(this).sendBroadcast(messageIntent);

       }
   } else if (event.getType() == DataEvent.TYPE_DELETED) {
       // DataItem deleted
   }
}
}
It is important to note that we need to use the
LocalBroadcastManager in order to pass control from the WearableListenerService back to the main UI thread in order to render the polylines. To accomplish this, we setup the following nested class in our MapsActivity on the Wearable app.
public class MessageReceiver extends BroadcastReceiver {
   @Override
   public void onReceive(Context context, Intent intent) {
       String routeFromMobile = intent.getStringExtra(ROUTE_TAG);
       // Draw the elevation polyline based on parsing the String.
       drawElevationPolyline(routeFromMobile);
   }
}
It's Been a Long Trip
This is our fourth and final blog post in our Code the Road App blog series—thank you for reading and following along! Now that you have a working Android application, you can continue to extend it with new features like creating an interactive chart showing elevation that allows users to hover over the chart to see the corresponding map location or allowing location sharing with friends. You can also build a web app to retrieve your location and check-in history from Firebase. This is only the start of what you can do with the Google Maps APIs, so use your imagination and build some amazing applications!